
Most “swift backup android complete guide” articles stop at the feature list: backs up apps, SMS, call logs, done. What they skip is the split personality of the app itself. Without root, Swift Backup can archive your APKs and message databases; with root, it becomes one of the few tools that can still capture full app data the way Titanium Backup once did. This guide walks the complete setup for both modes and is honest about which restores succeed, which silently partial-restore, and where your message backups physically end up.
What Swift Backup actually stores, mode by mode
| Data type | Without root | With root |
|---|---|---|
| APK files (base + splits) | Yes | Yes |
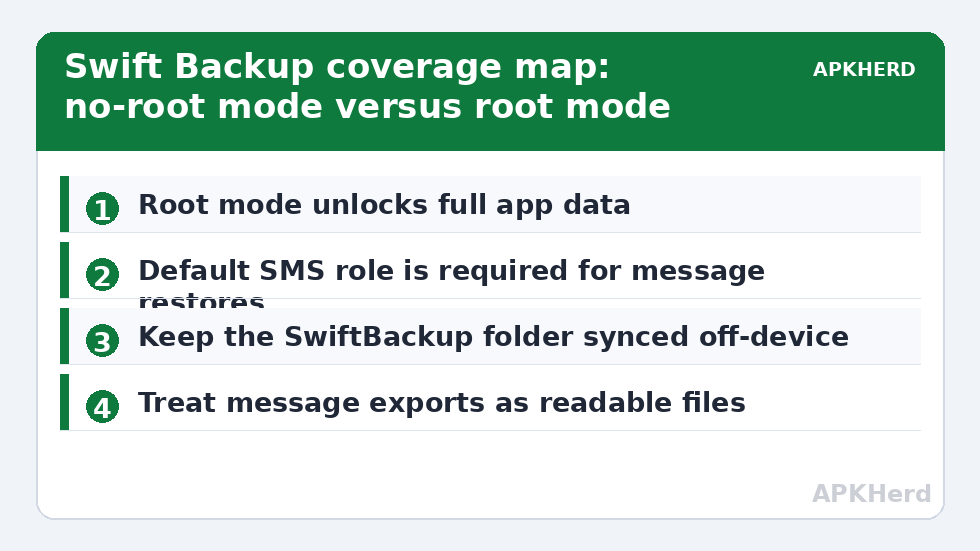
| App private data | No — blocked by the Android sandbox | Yes, including external data folders optionally |
| SMS and MMS | Yes, as its own backup set | Yes |
| Call logs | Yes | Yes |
| Wi-Fi networks | No | Yes |
| Wallpapers | Yes (current wallpaper) | Yes |
The no-root column deserves emphasis because marketing screenshots blur it. Without root, Swift’s app backup is an APK archive only. Reinstalling that archive gives you a fresh, empty app. Users discover this after a factory reset, which is the worst possible moment. The app is upfront about it in its own documentation; third-party guides often are not.
Installation and the permissions that matter
Install Swift Backup from the Play Store. On first launch it asks for storage access, and — for the message features — it must be granted SMS and call log permissions; restoring SMS additionally requires it to temporarily become the default SMS app on many Android versions, a system rule rather than a Swift quirk. Grant permissions one at a time and confirm each backup type appears in the home screen list before scheduling anything.
If you have root (Magisk is the usual route), grant root access when prompted and the app data option unlocks. Do a first manual backup of one small app, then restore it, before trusting it with the full set. Root backups capture the app’s data directory wholesale, which includes login sessions for many apps — convenient, and exactly why the backup folder itself must be protected (more on that below).
Setting up SMS and call log backups properly
Message backups live separately from app backups in Swift’s interface, and they deserve their own routine because this data leaves the device in readable form. The XML-style exports Swift creates can be opened and read by anyone with file access; a call log reveals numbers, times, and durations. If you sync the Swift folder to cloud storage, you are uploading that history — decide whether you are comfortable with that, and if you are not, keep message backups local-only or encrypt the folder first using the method in our backup encryption guide.
SMS restore check: after restoring on a new phone or after a reset, open your messaging app and spot-check a recent thread, including an MMS with a photo attachment. MMS media is the most commonly dropped element across all tools in this category, not just Swift.
Scheduling, storage locations, and cloud sync
Swift supports schedules per backup type (apps, messages, call logs separately), and it can keep the backup folder on internal storage, an SD card, or a USB drive via a document provider. Its built-in cloud options depend on version and region; many users instead point a folder-sync app at the Swift directory. Whatever you choose, apply 3-2-1 concretely: internal storage copy is your working copy, a PC or external drive copy is your second, and an off-device or cloud copy is your third. A backup stored only on the same internal storage it protects dies with the phone if the phone dies — the single most common failure pattern we see discussed in community threads.
Our NAS and PC automation guide covers the folder-sync half of this setup in detail, including Syncthing and SMB options.
The restore test protocol
- Back up one low-stakes app with data (a podcast app with subscriptions works well), plus your SMS.
- Uninstall the app. Restore it from Swift. Open it and confirm state returned: subscriptions, played positions, settings.
- Restore the SMS set to a spare device or after a planned reset, and verify one MMS attachment opens.
- Record which apps restored fully, which restored as empty shells, and which refused. Keep that list with the backup.
Repeat this test after any major Android version upgrade. OS upgrades change sandbox and permission behaviour, and a backup routine validated on Android 13 may behave differently on Android 15 even with the same app version.
Swift backup android complete guide verdict: Swift versus the alternatives
Against the open-source Neo Backup, Swift is more polished and its message handling is stronger; Neo wins on transparency and cost for root users — see our full Neo Backup guide. Against Google One, Swift (rooted) captures far more app data; unrooted, Google One captures more app data than Swift can, because Google operates at system level. Choose by mode, not by brand loyalty. For a full map of methods, start from our backup tools hub.
Common failure modes and what they mean
Three problems account for most Swift Backup support questions, and each has a specific cause. Restored apps crash on launch: usually a data restore across a major Android version boundary or an app whose data references device-specific identifiers; fix by clearing that app’s data and signing in fresh — the backup did its job, the app rejected the transplant. Schedules silently stop: almost always battery optimization; the app gets frozen by the OEM’s power management, so exclude it from optimization and confirm the “last run” timestamp weekly for the first month. Backups grow enormous: root-mode backups that include external data folders and cache directories can balloon; review which optional data classes you enabled, since caches are worthless weight in an archive.
A word on update hygiene: because Swift holds powerful permissions (and root, if granted), install updates only from the Play Store listing, and after any major Swift or Android update, re-run the one-app restore test from the protocol above before assuming the archive chain is intact. Tools that touch every app’s data deserve the same verification discipline as the backups themselves.
Keeping a backup log beside the backups
Spend sixty seconds per backup session maintaining a plain-text log in the same folder: date, Swift version, Android version, mode used (root/no-root), and any apps you noticed failing or restoring oddly last time. When a restore misbehaves months later, this log is how you learn whether the archive was made before or after the Android update that changed the rules — the single most common root cause of “it used to work” confusion. Professionals log because memory lies politely; home users skip it because it feels bureaucratic, right up until the night it would have answered everything. One line per session is enough. The habit, like the restore test, separates people who have backups from people who have backup stories.
Frequently Asked Questions
Does Swift Backup work without root at all?
Yes, but the scope shrinks: it archives APKs, SMS, call logs, and wallpapers. It cannot copy other apps’ private data without root because Android’s sandbox forbids it for every app, not just Swift.
Where are Swift Backup files stored?
In a SwiftBackup folder at the location you choose — internal storage by default, or SD card/USB via the storage picker. That entire folder is the backup; copy all of it when moving to another device.
Can Swift Backup restore apps on a different phone?
APK archives generally install on another device; root-mode data restores work best on the same device and ROM family. Cross-device data restores can fail for apps that bind data to device identifiers.
Is the premium version necessary?
The free tier covers manual backups of the main types; premium mainly adds scheduling convenience and batch automation. For a monthly manual routine, free is adequate; for set-and-forget protection, premium or a folder-sync schedule earns its keep.
Are my SMS backups encrypted by Swift?
No — treat the exports as readable files. If they leave the device, wrap them in encryption yourself before upload.